How to create and edit accessible projects with isEazy Author
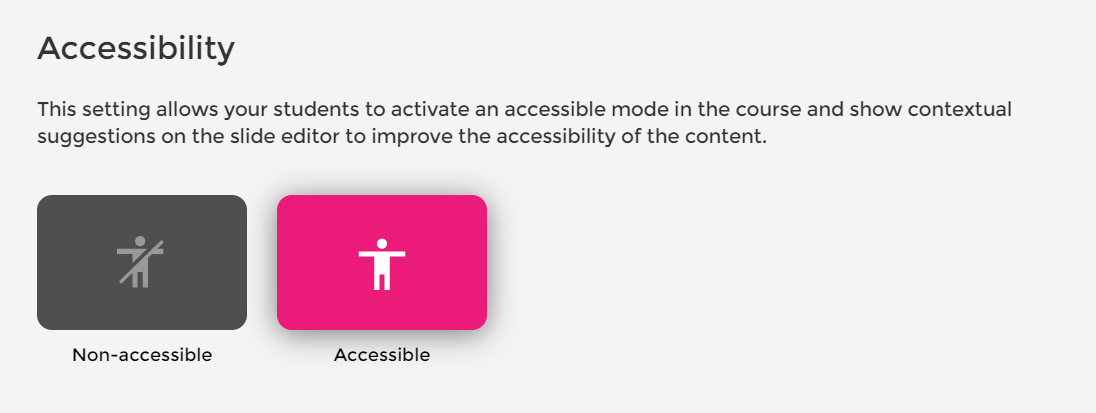
Choose a project from your project list or create a new one. It's time to select the accessible mode from the Project configuration.
If this is your first isEazy Author project, learn how to create and edit it here.
Course Image
Remember that in Accessible mode, you have the option to add alternative texts (ALT Text) and long descriptions for all images, including the "course image."
ALT Text is not a mandatory field; it can be left blank if the image is purely decorative or holds no relevance.
If you distribute your course through Author Go, the ALT text will also be used on the platform, enhancing accessibility.

Cover Mode
Choose the cover mode that best suits the purpose of your course: Classic, No cover, and Side panel. Note that when the user selects Accessible mode, there will be no distinction in the way the cover is displayed.
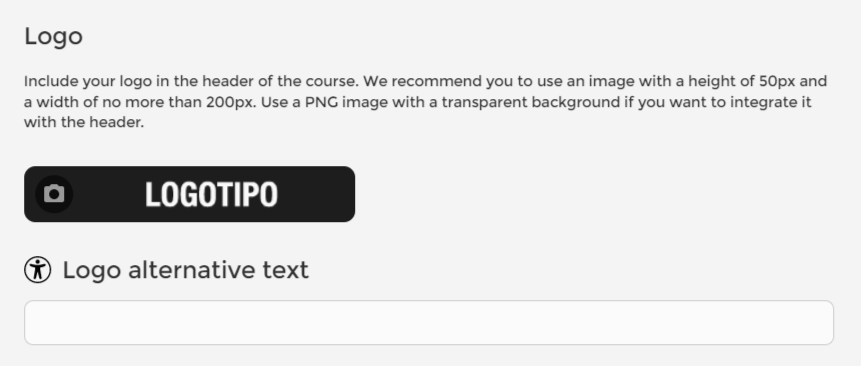
Logo
If you add your organization's logo, you will also have the option to include an ALT Text description.
Personalization. Background Image
You can choose a background color or an image. When accessing the published course and selecting the accessible mode, the background image of your project will be displayed subtly, veiled, ensuring contrast and legibility. You can check this in the preview.
Template Colors
Don't worry about the color palette; we will automatically transform the colors you use to meet the contrast requirements for Accessible mode.
Course Language
Select the language from the drop-down list. This setting is crucial for screen readers.
Course Navigation
In Accessible mode, you can only select free navigation. Find more information in this article.
Course Typography
Select the font you want for your project. When students choose accessible mode, IsEazy Author will automatically modify it to meet accessibility requirements without you having to worry about it.
Preview and Distribution an Accessible Project
If you want to test your accessible course with a screen reader, we recommend publishing it with the URL, “Share by link” option. Learn more about all the distribution options in this article on our help portal: Project distribution.
Remember that courses will always be published in dual mode, and it will be the user who chooses to see the Accessible version.