Text
It is one of the basic elements on the slide. We have created a simple text editor that allows you to focus on the content without having to worry about deciding on the style.

- Bold, italic and underline: highlight texts and put some emphasis on them.
- Text color: play with our selected color palette to add style to your content.
- Underline color: use to create titles and headings with a creative style.
- Text horizontal alignment: allows you to horizontally align the text as you wish.
- Text vertical alignment: allows you to vertically align the text as you wish.
- Lists: you can create lists with bullet points or numbers.
- Margins: allow you to play with the interior space of the text.
- Icons: you can add icons to the text to make your contents more creative.
- Formulas: you can add your formulas to the text using the KaTeX format. You can check the table of supported functions here: KaTeX
- Links: add external links anywhere in the text.
- Superscript: lets you include superscripts in your text.
- Subscript: lets you include subscripts in your text.
- Text size: we think it is easier to use predefined sizes. This way it will be a lot easier to keep coherence in text used in your project.
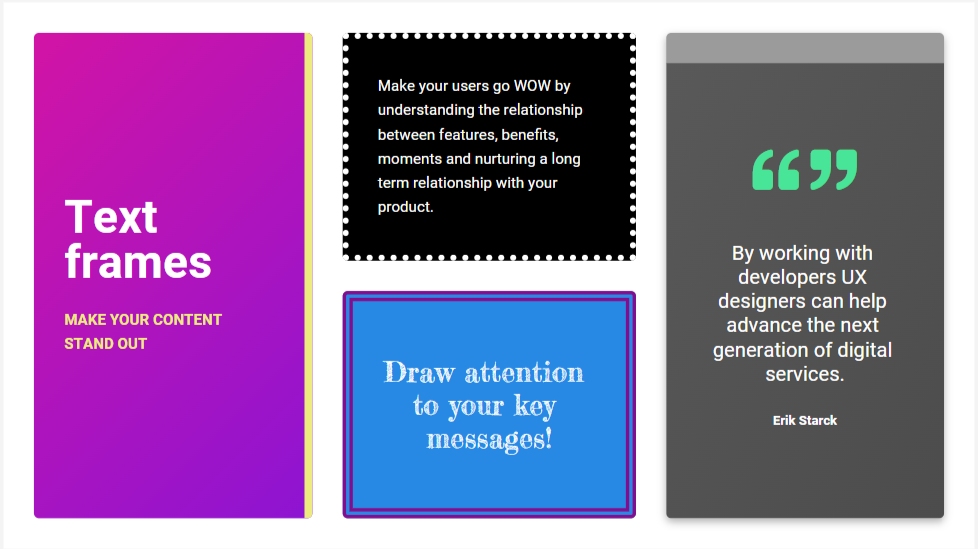
Frame
In the properties panel you can choose the type of frame you prefer. You can choose between fine, thick, double frame, silhouette, dots, a single line on each of the 4 sides of the box or note.
You can use the frames to highlight information, get more visual contrast, fix attention or group concepts.
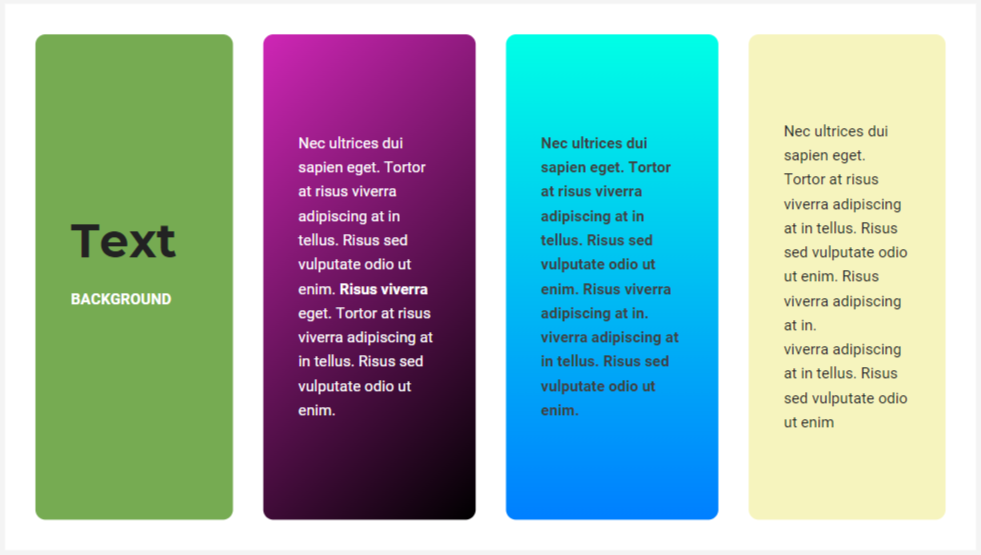
Background color

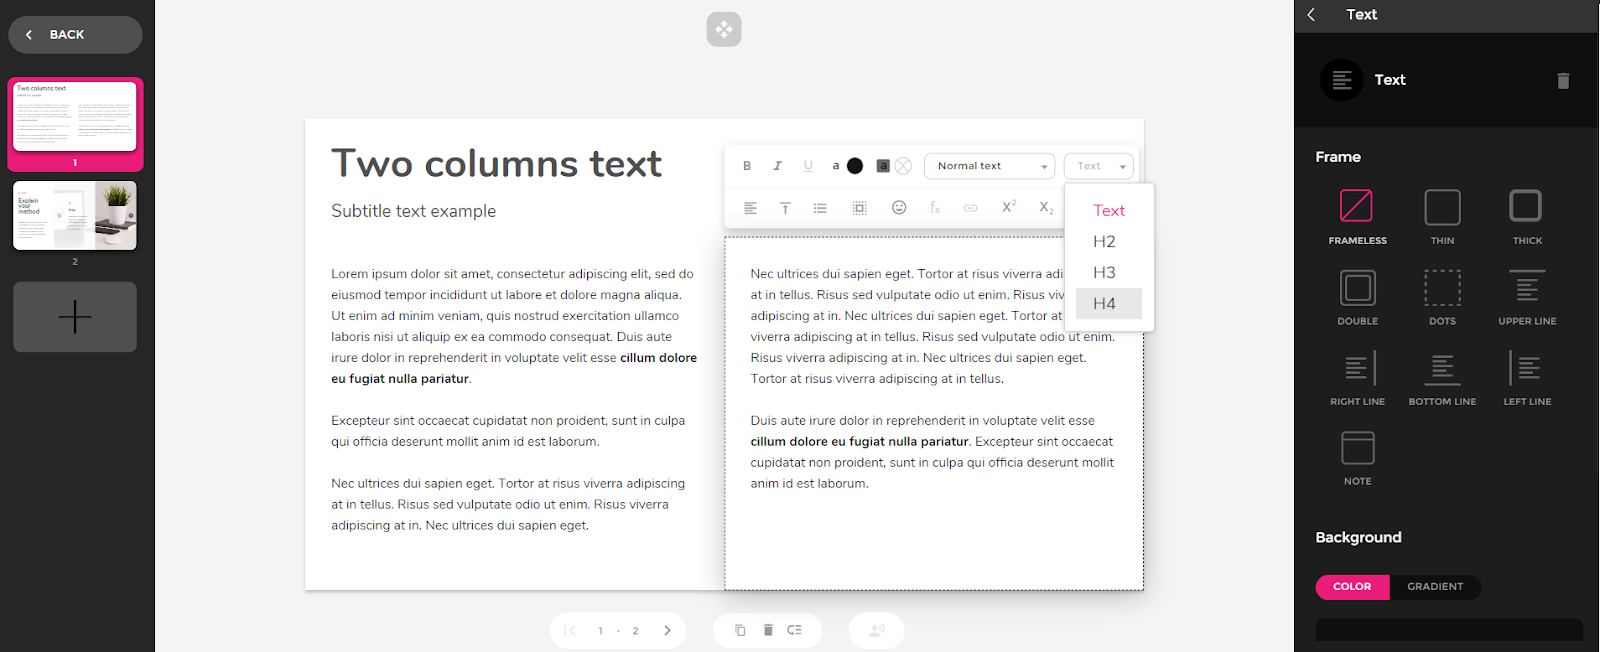
Editing Text in accessible mode
With the usual toolbar you will be able to select headers for your texts: H2, H3 and H4.
In the help article about Headings, we explained that H1 will be applied exclusively to the Course Name and Sections, and for that reason it does not appear as an available option in the Text element toolbar.
Language selector:
In the text editing toolbar you will also have a language selector for your texts: select those parts of the text that are in a language other than the main language of the course and indicate which language it is. The screen reader will then be able to apply the appropriate diction to these parts to facilitate understanding by the learner.
Functionalities not supported in Accessible mode:
- Formulas and Text Underlining are not supported for accessibility.
- Icons are not supported in accessibility, note that even if you use them they will not be displayed in accessible mode.
- Text colours and background colours are not supported for accessibility. Note that even if you use them, in accessible mode the text will always be black on a white background.
- Title and text styles are not supported in accessibility. Please note that even if you use them, in accessible mode the text will always have a standard style with a font that meets the accessibility criteria we support.
- Inner margin, vertical and horizontal alignments are not supported in accessibility. Please note that even if you use them, in accessible mode the text will have a standard alignment and margin.
To learn more you can read the following articles: Headings, Alternative texts and long descriptions.
Continue reading Types of Elements